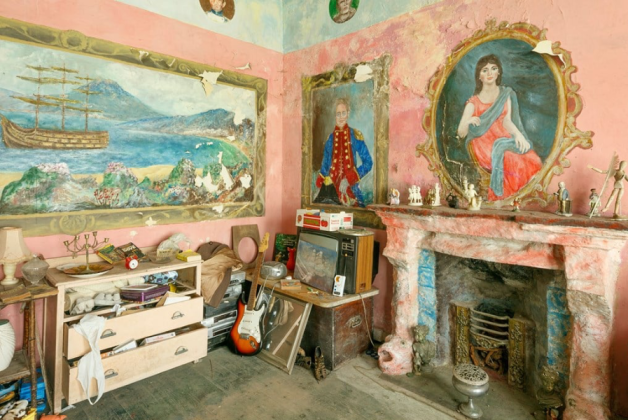
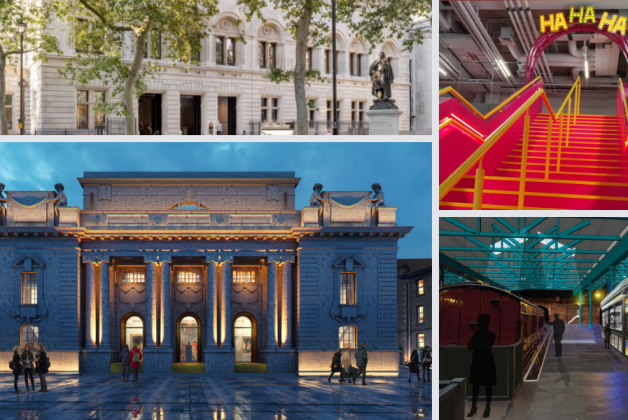
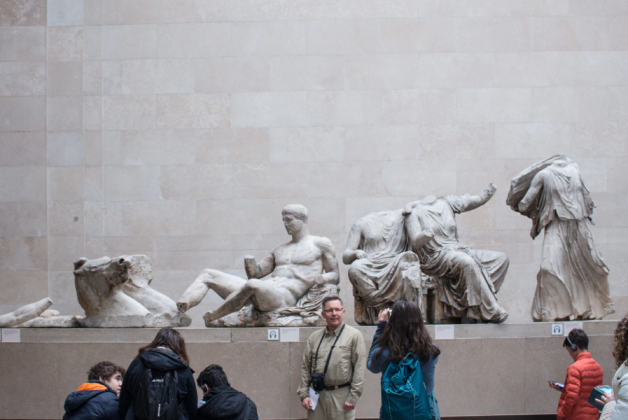
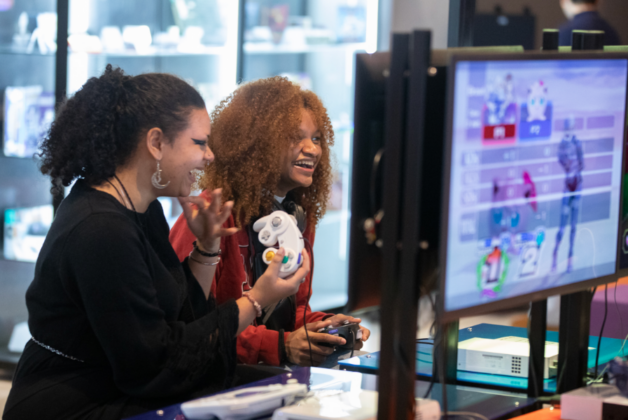
All photographs are of the Horniman collection and taken by Dani Tagen
Dani Tagen is photography consultant for the museums and heritage sector and the first in-house photographer at the Horniman museum. She is involved with the museum’s Collection, People, Stories project, which has been working with communities and researchers to uncover the range, scale and importance of the Horniman’s Anthropology collections – both in storage and on display. Here she explains the benefits of having a specialist photoghrapher involved with documenting museum collections and also gives her tips on what to look out for if you are taking the photos
Museums and heritage photographer and consultant Dani Tagen says that museum professionals should manage their expectations and not misunderstand good-quality images for high-quality images. “Only a professional museum and heritage photographer can produce high-quality images that will be suitable for printing, publications or any other high-end need,” she says. “The images any other member of staff or a professional photographer outside the sector produce are only good-quality images that are good for collections online and sometimes for digital media.”
With good quality photographs a museum is able to leave a legacy of good collections documentation and with that it will be able to:
- Manage metadata
- Have images with accurate colour rendition
- Fit into the international museum photography standards
- Keep good quality control of the database
- Improve and keep good quality assurance of the database
- Comply with the best practices
- Have written guidelines
- Invest in long term usage of photographic equipment
- Open its collection to the public
- Increase online reach
- Improve your collection relevancy
Gallery
TIPS
1. Beforehand
Before beginning any project think about photography right at the beginning and assess your capabilities to carry out a photography project in-house
2. The Basics
Be realistic, what are the images going to be used for? You’ll need good images throughout any project.
3. Getting started
If your non-photographers are going to take the documentation/reference images, they’ll need training
4. What you’ll need to know
Using the right equipment, setting a budget, setup, images per object targets, workflow for your teams, colour management, files and extensions sizes, equipment servicing, metadata software, lens profiling, post-producing techniques and file naming protocols
5. Composition
Pay attention to the object, if it’s vertical shoot vertically and try to fill the frame as much as possible
6. Lighting/background
It also comes with good training but be aware of hard shadows, try to use as soft light as possible on a neutral background. Never use colours apart from white, grey or black
7. What to avoid
Never use colourful backgrounds, use only white, grey or black. Wide angle lenses and super compact cameras.
8. Get to know your camera
– It sounds obvious but not knowing your camera will hamper your progress if not using a professional, so read the manual.
9. The minimum equipment needed
You can do a lot with very little, if you don’t have budget buy a good compact camera (the ones that have manual shooting mode and shoot in RAW) and buy a colour checker or grey target. That’s the minimum.
10. What equipment to buy with a budget
- 1DLSR camera with 50mm or 60mm micro lens and 18-70mm lens
- 1 flash-head (with an umbrella or softbox)
- 1 tent
- 1 tripod
- 1 colour checker
- 1 set of scales
- 1 roll of white paper


